Master Olive Garden Breadsticks: Pro Tips for Perfect Texture & Garlic Butter
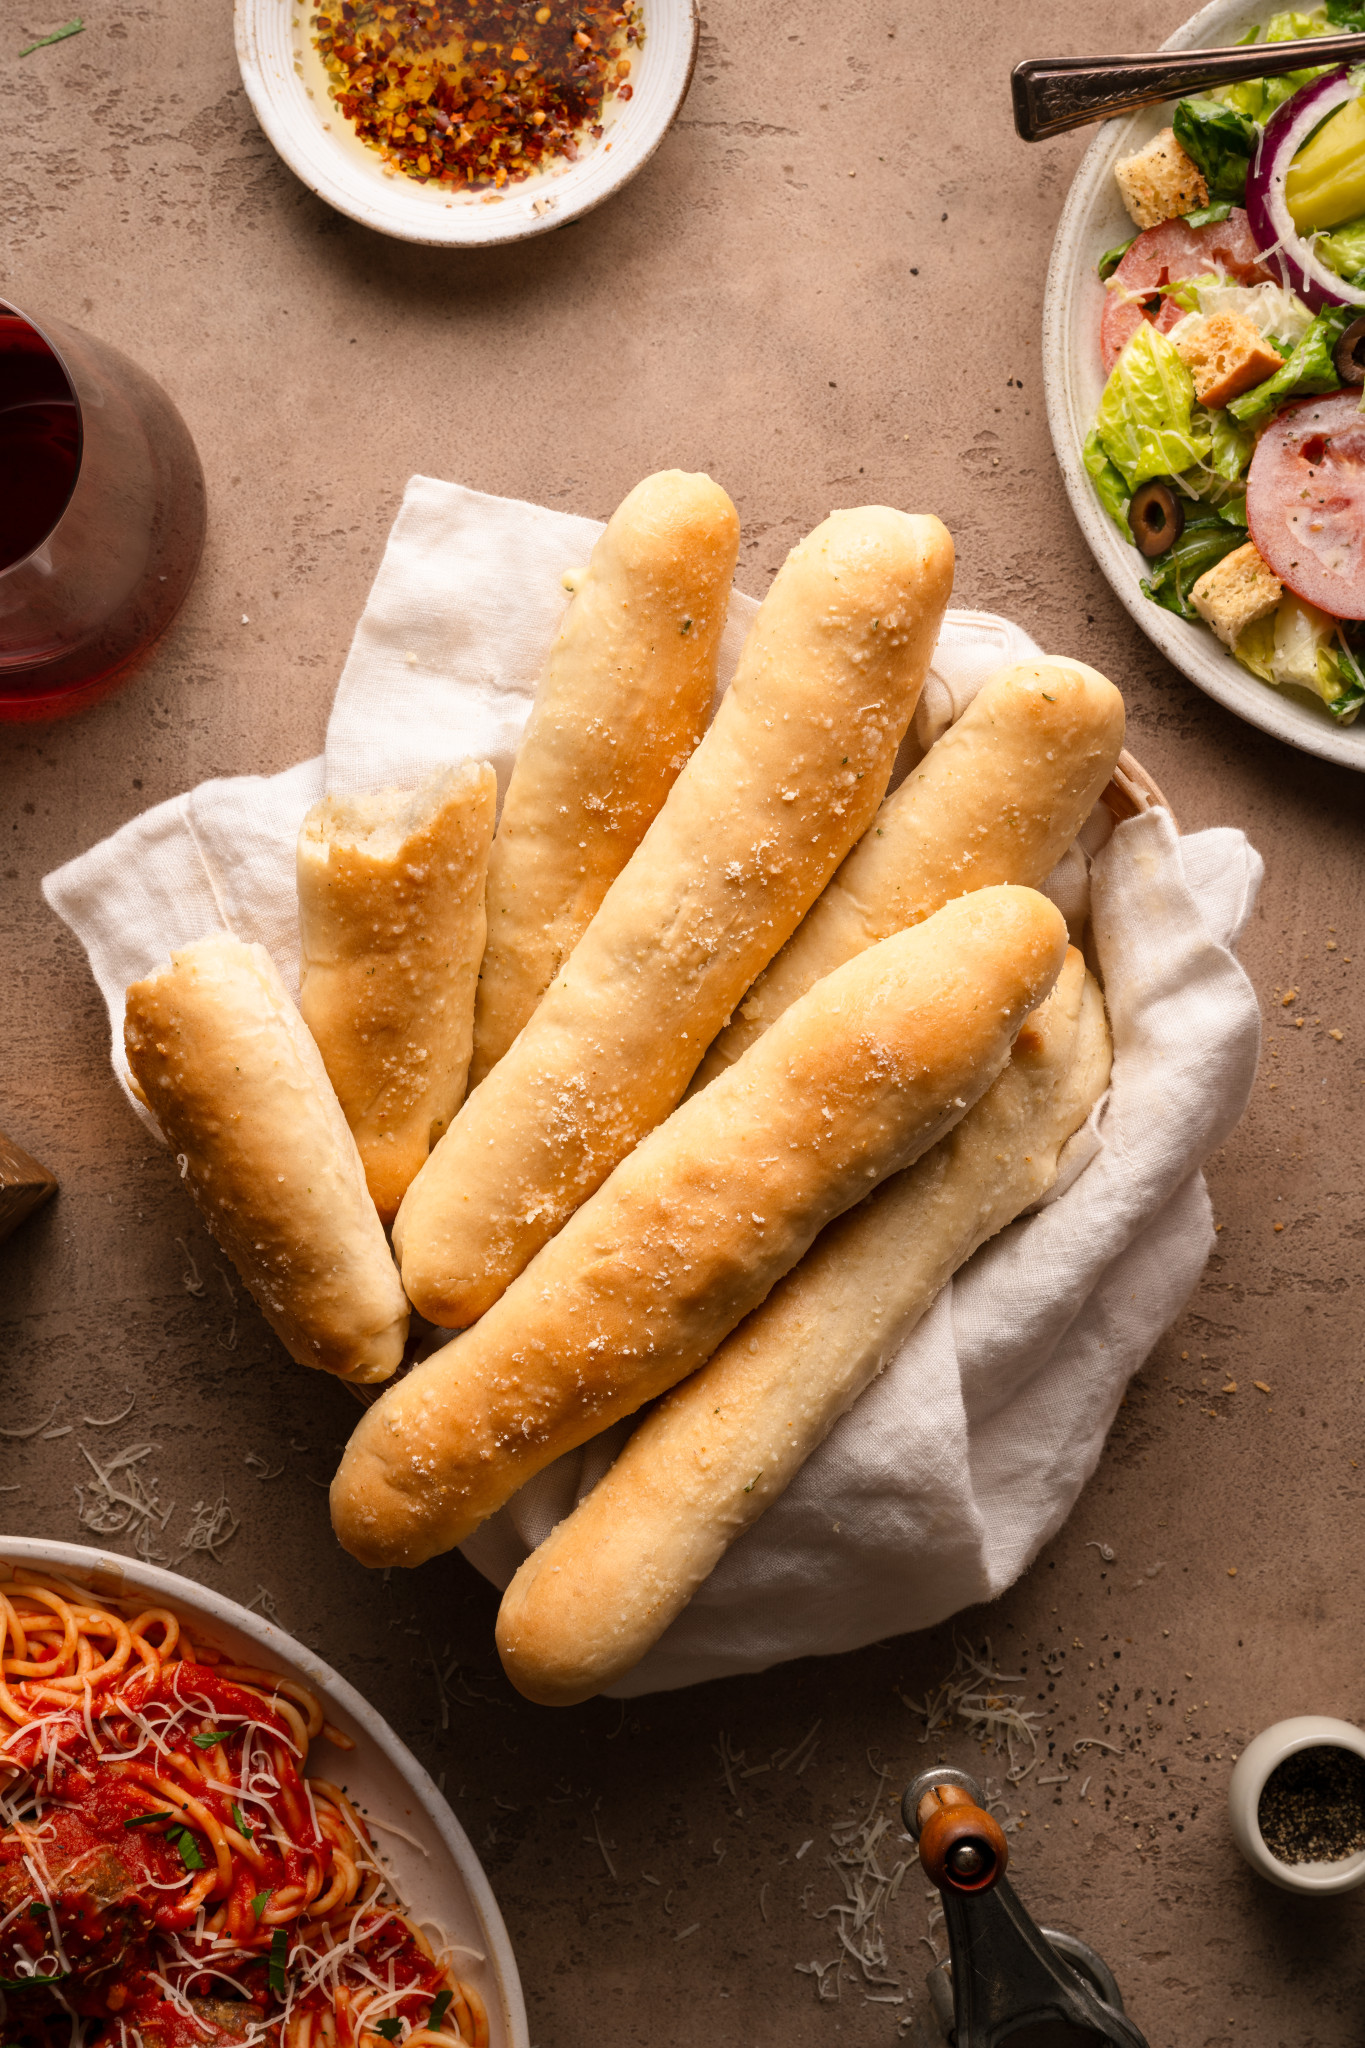
Few things rival the simple joy of a warm, fluffy breadstick, especially when it's infused with garlicky butter and reminiscent of your favorite Italian-American restaurant. The allure of Olive Garden’s unlimited breadsticks is undeniable, a cornerstone of their dining experience that keeps patrons coming back. But what if we told you that creating an even better version of these iconic treats is not just possible, but within your grasp? This comprehensive guide will equip you with the insider tips and techniques needed to perfect your own
olive garden breadsticks copycat recipe, ensuring a texture so soft it melts in your mouth and a garlic butter so flavorful it'll become a staple in your kitchen.
Many home bakers, myself included, have embarked on the quest to replicate that elusive Olive Garden magic. The challenge lies in achieving that signature pillowy softness and ensuring they remain tender even after cooling or reheating. After much experimentation, we've cracked the code, transforming a beloved restaurant classic into a homemade masterpiece that consistently outshines the original. Get ready to impress your family and friends with breadsticks that are impossible to resist, whether served alongside a hearty pasta dish or simply enjoyed on their own.
The Secret to Unbeatable Softness: Mastering the Dough
The foundation of any great breadstick is its dough. Achieving that coveted tender crumb and slight chew requires attention to detail, from ingredient measurement to the environment in which your dough proofs and bakes. Don't be intimidated; this dough is surprisingly forgiving, and with a few key tricks, you'll be baking like a pro.
Precision is Power: The Kitchen Scale Advantage
One of the most significant leaps you can make in your baking journey is to ditch the measuring cups for dry ingredients and embrace the kitchen scale. This isn't just a professional baker's indulgence; it's a game-changer for consistency, especially when it comes to flour. The difference between a "cup of flour" packed tightly versus one lightly spooned can be several ounces, drastically altering the hydration of your dough. A too-dry dough leads to tough breadsticks, while a too-wet dough can be a sticky nightmare. By weighing your ingredients, you eliminate these variables, ensuring your dough has the perfect texture every single time. It's a small investment that yields huge dividends in baking success and reduces frustration.
Ingredients Matter: Building a Flavorful Foundation
While often overlooked, the quality and type of your ingredients play a crucial role. For this
olive garden breadsticks copycat recipe, we recommend a few specific choices:
*
Whole Milk: Opt for whole milk over lower-fat alternatives. The higher fat content contributes significantly to the richness, flavor, and tenderness of your breadsticks. Fat equals flavor and moisture, making a noticeable difference in the final product.
*
Unsalted Butter: Always start with unsalted butter when baking. This gives you complete control over the total salt content in your recipe. If you only have salted butter, simply omit or significantly reduce any additional salt called for in the dough.
*
Active Dry Yeast: Ensure your yeast is fresh and active. This little organism is responsible for the lift and airy texture of your breadsticks. Proofing it in warm (not hot!) milk with a pinch of sugar before adding other ingredients is a great way to confirm its vitality.
*
All-Purpose Flour: While bread flour has higher protein, good quality all-purpose flour works perfectly for these breadsticks, providing a soft yet satisfying texture.
Kneading Nirvana: Developing Gluten for That Signature Chew
Kneading is where the magic of gluten development happens, transforming a shaggy mix into a smooth, elastic dough. This process develops the gluten strands, which are essential for trapping gases produced by the yeast, resulting in a light and airy structure.
You can knead this dough effectively either by hand (approximately 10-12 minutes of vigorous kneading) or using a stand mixer with a dough hook (about 7-8 minutes on medium speed). When done, the dough should feel smooth and elastic, springing back when gently poked. To confirm proper gluten development, perform the
windowpane test: pinch off a small piece of dough and gently stretch it with your fingers. If you can stretch it thin enough to see light pass through without tearing, your dough is ready. This indicates sufficient gluten has formed, preparing it for a successful rise.
The Magic of Proofing: Letting Yeast Do Its Work
Proofing is the stage where the yeast feasts on sugars and releases carbon dioxide, causing the dough to rise and become light. Place your kneaded dough in a lightly greased bowl, cover it tightly with plastic wrap to prevent a skin from forming, and let it rise in a warm, draft-free place until it has doubled in size. This typically takes anywhere from 60 to 90 minutes, depending on the ambient temperature of your kitchen. A warmer kitchen means a faster rise, so keep an eye on it!
The Steam Oven Secret for Pillowy Perfection
This is perhaps the most crucial trick to achieving truly soft, tender breadsticks that rival, or even surpass, Olive Garden's. Baking in a steamy environment is a game-changer. The moisture in the oven delays the formation of a hard crust, allowing the breadsticks to expand more fully and develop a finer, more tender crumb.
To create this steamy environment, preheat your oven to 425°F (220°C). About 5-10 minutes before you're ready to bake your breadsticks, carefully pour about 4 cups of boiling hot water into an oven-safe baking dish or cast-iron skillet and place it on the bottom rack of your oven. This will immediately create steam. Then, place your shaped breadsticks on the middle rack to bake. For an even deeper dive into this transformative technique and its scientific benefits, you might want to check out
Unlock Super-Soft Olive Garden Breadsticks: The Steam Oven Secret. The difference in texture will astound you!
Elevate Your Breadsticks with Irresistible Garlic Butter
A breadstick isn't truly an Olive Garden breadstick without that iconic garlic butter slathered on top. This simple addition transforms warm, plain bread into an explosion of savory flavor and contributes to the breadstick's moistness.
The key here is to brush the garlic butter onto the breadsticks immediately as they emerge from the hot oven. The heat causes the butter to melt and soak directly into the warm, porous bread, imparting deep flavor and additional moisture.
*
Simple Garlic Butter: Combine melted unsalted butter with finely minced fresh garlic (or a good quality garlic powder for a milder, more integrated flavor), a pinch of salt, and a touch of dried parsley for color and a subtle herbal note.
*
Fresh vs. Powdered Garlic: While fresh garlic offers a more pungent, vibrant flavor, garlic powder can provide a smoother, more evenly distributed garlic essence. Experiment to find your preference!
*
Quality Counts: Just like with the dough, using a good quality butter for your garlic topping makes a significant difference.
Smart Baking: Tips for Success & Planning Ahead
Even with a foolproof
olive garden breadsticks copycat recipe, a few extra tips can ensure consistent success and allow you to enjoy these treats on your own schedule.
Troubleshooting Common Issues
*
Tough Breadsticks: This often indicates over-kneading (which develops too much gluten, making them dense) or a lack of moisture in the oven during baking. Ensure you perform the windowpane test and use the steam trick.
*
Dense Breadsticks: Usually a sign of under-proofing. Give your dough ample time to double in size. A cold kitchen can significantly slow down the rise.
*
Flat Breadsticks: Can be caused by over-proofing (the yeast consumed all its food and the structure collapsed) or insufficient kneading.
*
Burnt Garlic Butter: Apply the butter *after* baking, not before. Garlic browns very quickly in the oven.
Speed It Up or Make Ahead
Life can be busy, but that doesn't mean you can't enjoy homemade breadsticks.
*
For Speed: If you're looking to get these on the table in under an hour, slightly warm your milk before adding the yeast (around 105-115°F or 40-46°C), which will activate the yeast faster. You can also create a warmer environment for proofing, such as a slightly warmed oven (turned off!) or a sunny spot. For more express baking tips, don't miss
Quick & Easy Olive Garden Breadsticks: Make Them in Under an Hour.
*
For Planning Ahead (Dough): You can make the dough, knead it, and then place it in a greased, airtight container in the refrigerator for up to 24 hours for a slow, cold proof. Alternatively, after the first proof, you can punch it down, shape it into a ball, and freeze it in a freezer-safe bag for up to a month. Thaw overnight in the fridge before shaping and proceeding with the recipe.
*
For Planning Ahead (Baked Breadsticks): Bake the breadsticks fully, allow them to cool completely, then freeze them in a single layer on a baking sheet before transferring to a freezer-safe bag or container. They will keep for up to 3 months. To reheat, simply place frozen breadsticks directly into a preheated 350°F (175°C) oven for 5-10 minutes, or until warmed through and soft. Brush with fresh garlic butter after reheating for best results.
Conclusion
There's a special satisfaction that comes from recreating beloved restaurant dishes at home, especially when your homemade version surpasses the original. This
olive garden breadsticks copycat recipe is more than just a recipe; it's a gateway to understanding the fundamentals of baking and achieving extraordinary results. By focusing on precise measurements, proper gluten development, and the transformative power of steam and flavorful garlic butter, you'll consistently bake breadsticks that are tender, aromatic, and utterly addictive. So, roll up your sleeves, embrace these pro tips, and get ready to serve up an endless basket of warm, buttery perfection that your family will rave about. Happy baking!